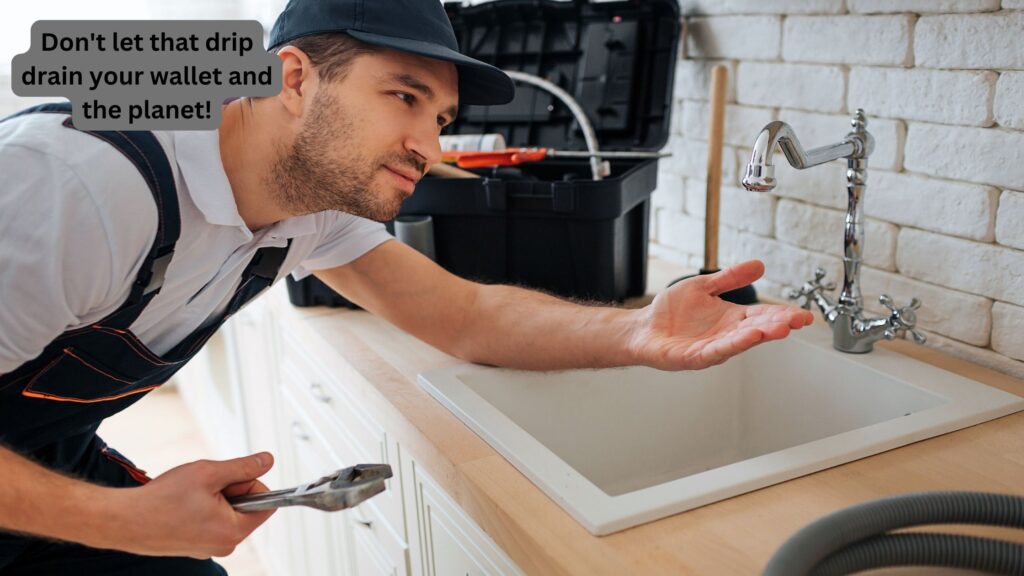
Let’s be honest, we’ve all been there. That relentless drip…drip…drip from your faucet can drive even the most patient person up the wall. But aside from the annoyance, a leaky faucet is like a tiny hole in your wallet, steadily draining your money (and precious water) down the drain. The good news? Fixing a leaky faucet is usually a simple DIY project that can save you money on plumbing bills and make you feel like a home improvement hero.
Why is My Faucet Leaking?
That constant drip is a sign that something’s not quite right with your faucet’s inner workings. Here are the usual suspects:
●Worn-Out Washers or Seals: These rubber components wear down over time, leading to leaks.
●Corroded Valve Seats: The valve seat is where the washer sits to stop the water flow. Over time, corrosion can create an uneven surface, causing leaks.
●Loose or Damaged O-rings: O-rings provide a watertight seal in various parts of the faucet. If they’re loose, cracked, or worn, leaks can occur.
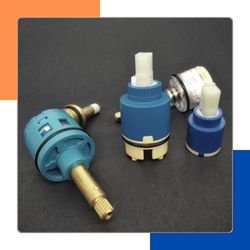
●Worn-Out Cartridges: Cartridges are found in many modern faucets and control the flow of water. As they wear down, they can start to leak.
Know Your Faucet Type
Before you grab your tools, it’s crucial to know what type of faucet you’re dealing with. Why? Because each type has a slightly different repair process.
The most common types of faucets are:
●Ball-Type Faucets: These have a single handle that controls both hot and cold water. They get their name from the ball-shaped valve inside.
●Cartridge Faucets: These faucets also have a single handle, but they use a cartridge instead of a ball to control water flow.
●Ceramic Disk Faucets: Known for their durability, these faucets use two ceramic disks to regulate water flow. They usually have a single handle.
●Compression Faucets: Often found in older homes, compression faucets have separate handles for hot and cold water. They rely on a rubber washer that’s compressed against a valve seat to stop water flow.
Gear Up: Tools and Supplies
Now that you know your faucet type, let’s gather the tools and supplies for the mission. You’ll likely need:
●Adjustable Wrench: For tightening and loosening various nuts and connections.
●Screwdrivers: You’ll need both a Phillips head and a flathead screwdriver.
●Pliers: A pair of needle-nose pliers for small parts and slip-joint pliers for gripping larger components.
●Seat Wrench or Hex Wrench: For removing and installing valve seats.
●Utility Knife: For cutting old O-rings or gaskets.
Additional Supplies:
●Replacement Parts: The specific parts you’ll need will depend on your faucet type and the nature of the leak. It’s helpful to take the old parts with you to the store to ensure you get the right replacements.
●Plumber’s Grease: This magical substance helps lubricate moving parts, ensuring smooth operation and preventing future wear and tear.
●Rags or Towels: To protect your sink from scratches and for easy cleanup.
●Bucket: You might need to catch any residual water from the pipes, especially after turning off the water supply.
Step-by-Step Repair Guides
General Steps for Repairing a Leaky Faucet:
1.Turn Off the Water Supply: This is absolutely crucial before you start disassembling anything! Locate the shut-off valves under your sink. If you don’t have individual valves, you’ll need to turn off the main water supply to your house.
2.Protect Your Sink: Cover the drain opening with a towel or plug it to prevent losing small parts down the drain.
3.Remove the Faucet Handle: Depending on the faucet type, you might need to pry off a decorative cap, loosen a set screw, or unscrew the handle.
4.Disassemble the Faucet: Carefully remove the necessary components to access the leaking parts. Take photos as you go to help with reassembly.
5.Replace Worn Parts: This might include replacing washers, O-rings, cartridges, or valve seats. Apply plumber’s grease to moving parts.
6.Reassemble the Faucet: Follow the disassembly steps in reverse, referring to your photos for guidance.
7.Turn on the Water and Test: Slowly turn the water supply back on. Check for leaks around all connections and ensure the faucet operates smoothly.
Troubleshooting Tips:
●Persistent Leaks: If you still have a leak after the repair, double-check that all parts are properly installed and seated correctly.
●Difficult-to-Remove Parts: Soaking a stuck aerator in white vinegar can help loosen mineral deposits. If parts are still stubborn, consider using a penetrating oil or calling a plumber.
Going Green: Water Conservation and Eco-Friendly Upgrades
Think of it this way: every drop that drips from your faucet adds up. By fixing a leaky faucet, you’re not just saving money, you’re helping to conserve one of our most precious resources.
Did you know? A faucet that drips once per second can waste over 3,000 gallons of water per year!
Besides fixing leaks, here are some other ways to be water-wise:
●Install Low-Flow Aerators: These devices reduce the amount of water flowing from your faucet without sacrificing performance.
●Consider Touchless Faucets: These high-tech faucets automatically turn on and off, minimizing water waste.
●Look for WaterSense Certified Products: The WaterSense label indicates that a product meets EPA criteria for water efficiency.
Turning a Repair into a Stylish Upgrade
Sometimes, a leaky faucet is a sign that it’s time for a full-fledged upgrade. If you’re thinking about replacing your faucet, here are some trends to consider:
●Pull-Down Sprayers: These versatile faucets offer extended reach for cleaning and filling pots.
●Touchless Faucets: For ultimate convenience and hygiene.
●Faucets with Built-in Filters: Enjoy filtered water straight from your tap.
[Insert images of various faucet styles]
When to Call a Pro
While fixing a leaky faucet is often a straightforward DIY project, there are times when calling a plumber is the best course of action:
●Complex Plumbing: If your plumbing system is intricate or you’re unsure about what you’re doing, it’s safer to leave it to a professional.
●Extensive Damage: If the faucet is severely damaged or corroded, it might be beyond repair and require replacement.
●Unsuccessful DIY Attempts: If you’ve tried to fix the leak yourself and made things worse, it’s time to admit defeat and call in the experts.
Conclusion
So, are you ready to stop that drip and become a faucet-fixing champion? With a little knowledge and the right tools, you can conquer those pesky leaks and save yourself some cash (and water!) in the process. Remember, every drop counts, and a small effort can make a big difference for your wallet and the planet.
Don’t let that drip drain your wallet and the planet!
Frequently Asked Questions
Question: How do I know what type of faucet I have?
Answer: To determine your faucet type, look for key identifying features. Compression faucets have separate hot and cold handles. Ball-type faucets have a single handle that moves in a ball shape. Cartridge faucets also have a single handle, but the cartridge inside controls the water flow. Ceramic disk faucets use two ceramic disks for water regulation.
Question: What are the most common causes of a leaky faucet?
Answer: Leaky faucets often result from worn parts. Worn-out washers or seals are frequent culprits, as these rubber parts deteriorate over time. Corroded valve seats create an uneven surface that can cause leaks. Loose or damaged O-rings can also cause leaks, as they’re responsible for a watertight seal. Finally, worn-out cartridges in single-handle faucets can contribute to leaks as they wear down.
Question: What tools do I need to fix a leaky faucet?
Answer: You will need a few basic tools to repair a leaky faucet. Gather an adjustable wrench, screwdrivers (both Phillips and flathead), pliers (needle-nose and slip-joint), a seat wrench or hex wrench, and a utility knife. Having plumber’s grease is also essential for lubricating parts.
Question: How do I stop my faucet from dripping?
Answer: To fix a dripping faucet, start by turning off the water supply. Then, disassemble the faucet handle and the components underneath. Inspect the parts for wear and tear, and replace any worn washers, O-rings, or cartridges. Apply plumber’s grease to all moving parts and reassemble the faucet. Finally, turn the water back on slowly to check for any remaining leaks.
Question: Can I fix a leaky faucet myself or should I call a plumber?
Answer: While many faucet repairs are simple DIY tasks, some situations require a plumber’s expertise. If your plumbing system is complex, you have extensive faucet damage, or your DIY attempts have failed, it’s best to call a professional.